
[JuskoLiy] Falling for Autumn in Japan Part 1
My first autumn (fall) in Japan was like a Wonderland: vibrant & amazing. I went after the peak fall forecast from December 1 to December 14, 2025. This also served as my birthday trip. I planned my trip with google maps with multiple stops and multiple alternatives.
My normal method when planning for my daily routes to sightsee and take film photos:
- Get reliable articles/ sources of featured places for the trip and plot the locations in Google Maps in "WALK" mode (Keep adding "stops") and arranging them by city/ district/ wards. Adding and subtracting with every article I find and separating the routes. Save the routes' "link" by clicking "Share".
- Check for opening and closing times & pre-book vs walk-ins and rearrange/ reorder the plan based on best times and bookings. Consider mixing outdoor and indoor activities in the area incase the weather changes (skip to the next viable)
- Consider which places only look better in morning or better at night. If both, try to plot going around the area towards the night illuminations. You can plan the morning (before noon) elsewhere if you want then afternoon onwards (still with sun to sunset to evening) towards the night illuminations so you can have varying photos of the same place (in daylight and in nighttime). For this, you will need to monitor the sunrise and sunset times since daylight is shorter during Autumn.
- Stay as flexible as your can check the weather 2 to 3 days before so you can plan for adjustments.
- If you get overwhelmed with planning, wing it. Explore blindly but consider reading all signs and information before exploring a place. You may also do a half and half, half day explore, half day stick to plan.
MAP FOR TOKYO (EAST)
MAP FOR TOKYO (WEST)
MAP FOR KAMAKURA
MAP FOR KYOTO
The locations on this maps are the standard tourist locations. You can almost use them anytime of the year however these locations are trimmed down and based from several articles for picturesque autumn photos and some with Winter Illuminations.
A 2-WEEK JOURNEY FROM Tokyo to Kamakura to Atami to Kyoto to Osaka
Things to always keep in mind:
- It is okay to over plan but don't over book especially with time/schedule (pre-book) unless you are really there to get inside a certain attraction or place.
- It is not easy to get around during peak season and even take photos quickly because of several factors brought the amount of tourists that flock a certain location.
- You will feel tired so you need to really stop to hydrate, eat, rest and "take it all in" else you are just looking at Japan through your lenses and not experiencing it.
- You cannot expect other tourists to behave properly and courteously. Sometimes while taking photos and/or observing the scene, you will get disrupted by a question or a favor so you always have to be aware or mindful of your surroundings as there might be people waiting their turn for a specific spot or would like some help to have their photos taken with their mobile phones, etc. Be Mindful & Respectful.
This is my first time to intently travel and take photos on film cameras.
1st LEG: Tokyo -> Kamakura - Enoshima -> Atami
- Starting in Tokyo: I stay near Asakusa-bashi station since it is only 1 train ride from the Narita and the area is a pleasant, not overcrowded area but still in the center of both arts, crafts, anime and even walkable to several camera shops. I followed the (Google) walking maps I created for the first few days. I visited some camera shops and art places and tourist attractions.
- First 2 film rolls for this trip was developed and scanned by a branch of Pallete Plaza (photo business franchise across Japan) near Asakusa TIC (Tourist Information Counter). Their "best" deal was approximately 880 yen per roll (+ Half Frames format) but files are only at 1MB. It was a so-so decision on my end but I just wanted to see the photos quickly and check if i needed to adjust some settings for while using the RAINBOW LENS FILTER. After this trip, I was able to narrow down how to use the Rainbow Lens during travel since there is so much unpredictability in lightning conditions and since the Rainbow lens filter works well outdoors and best in the sun, I wanted a work around or solution for the other times, in challenging lighting situations.
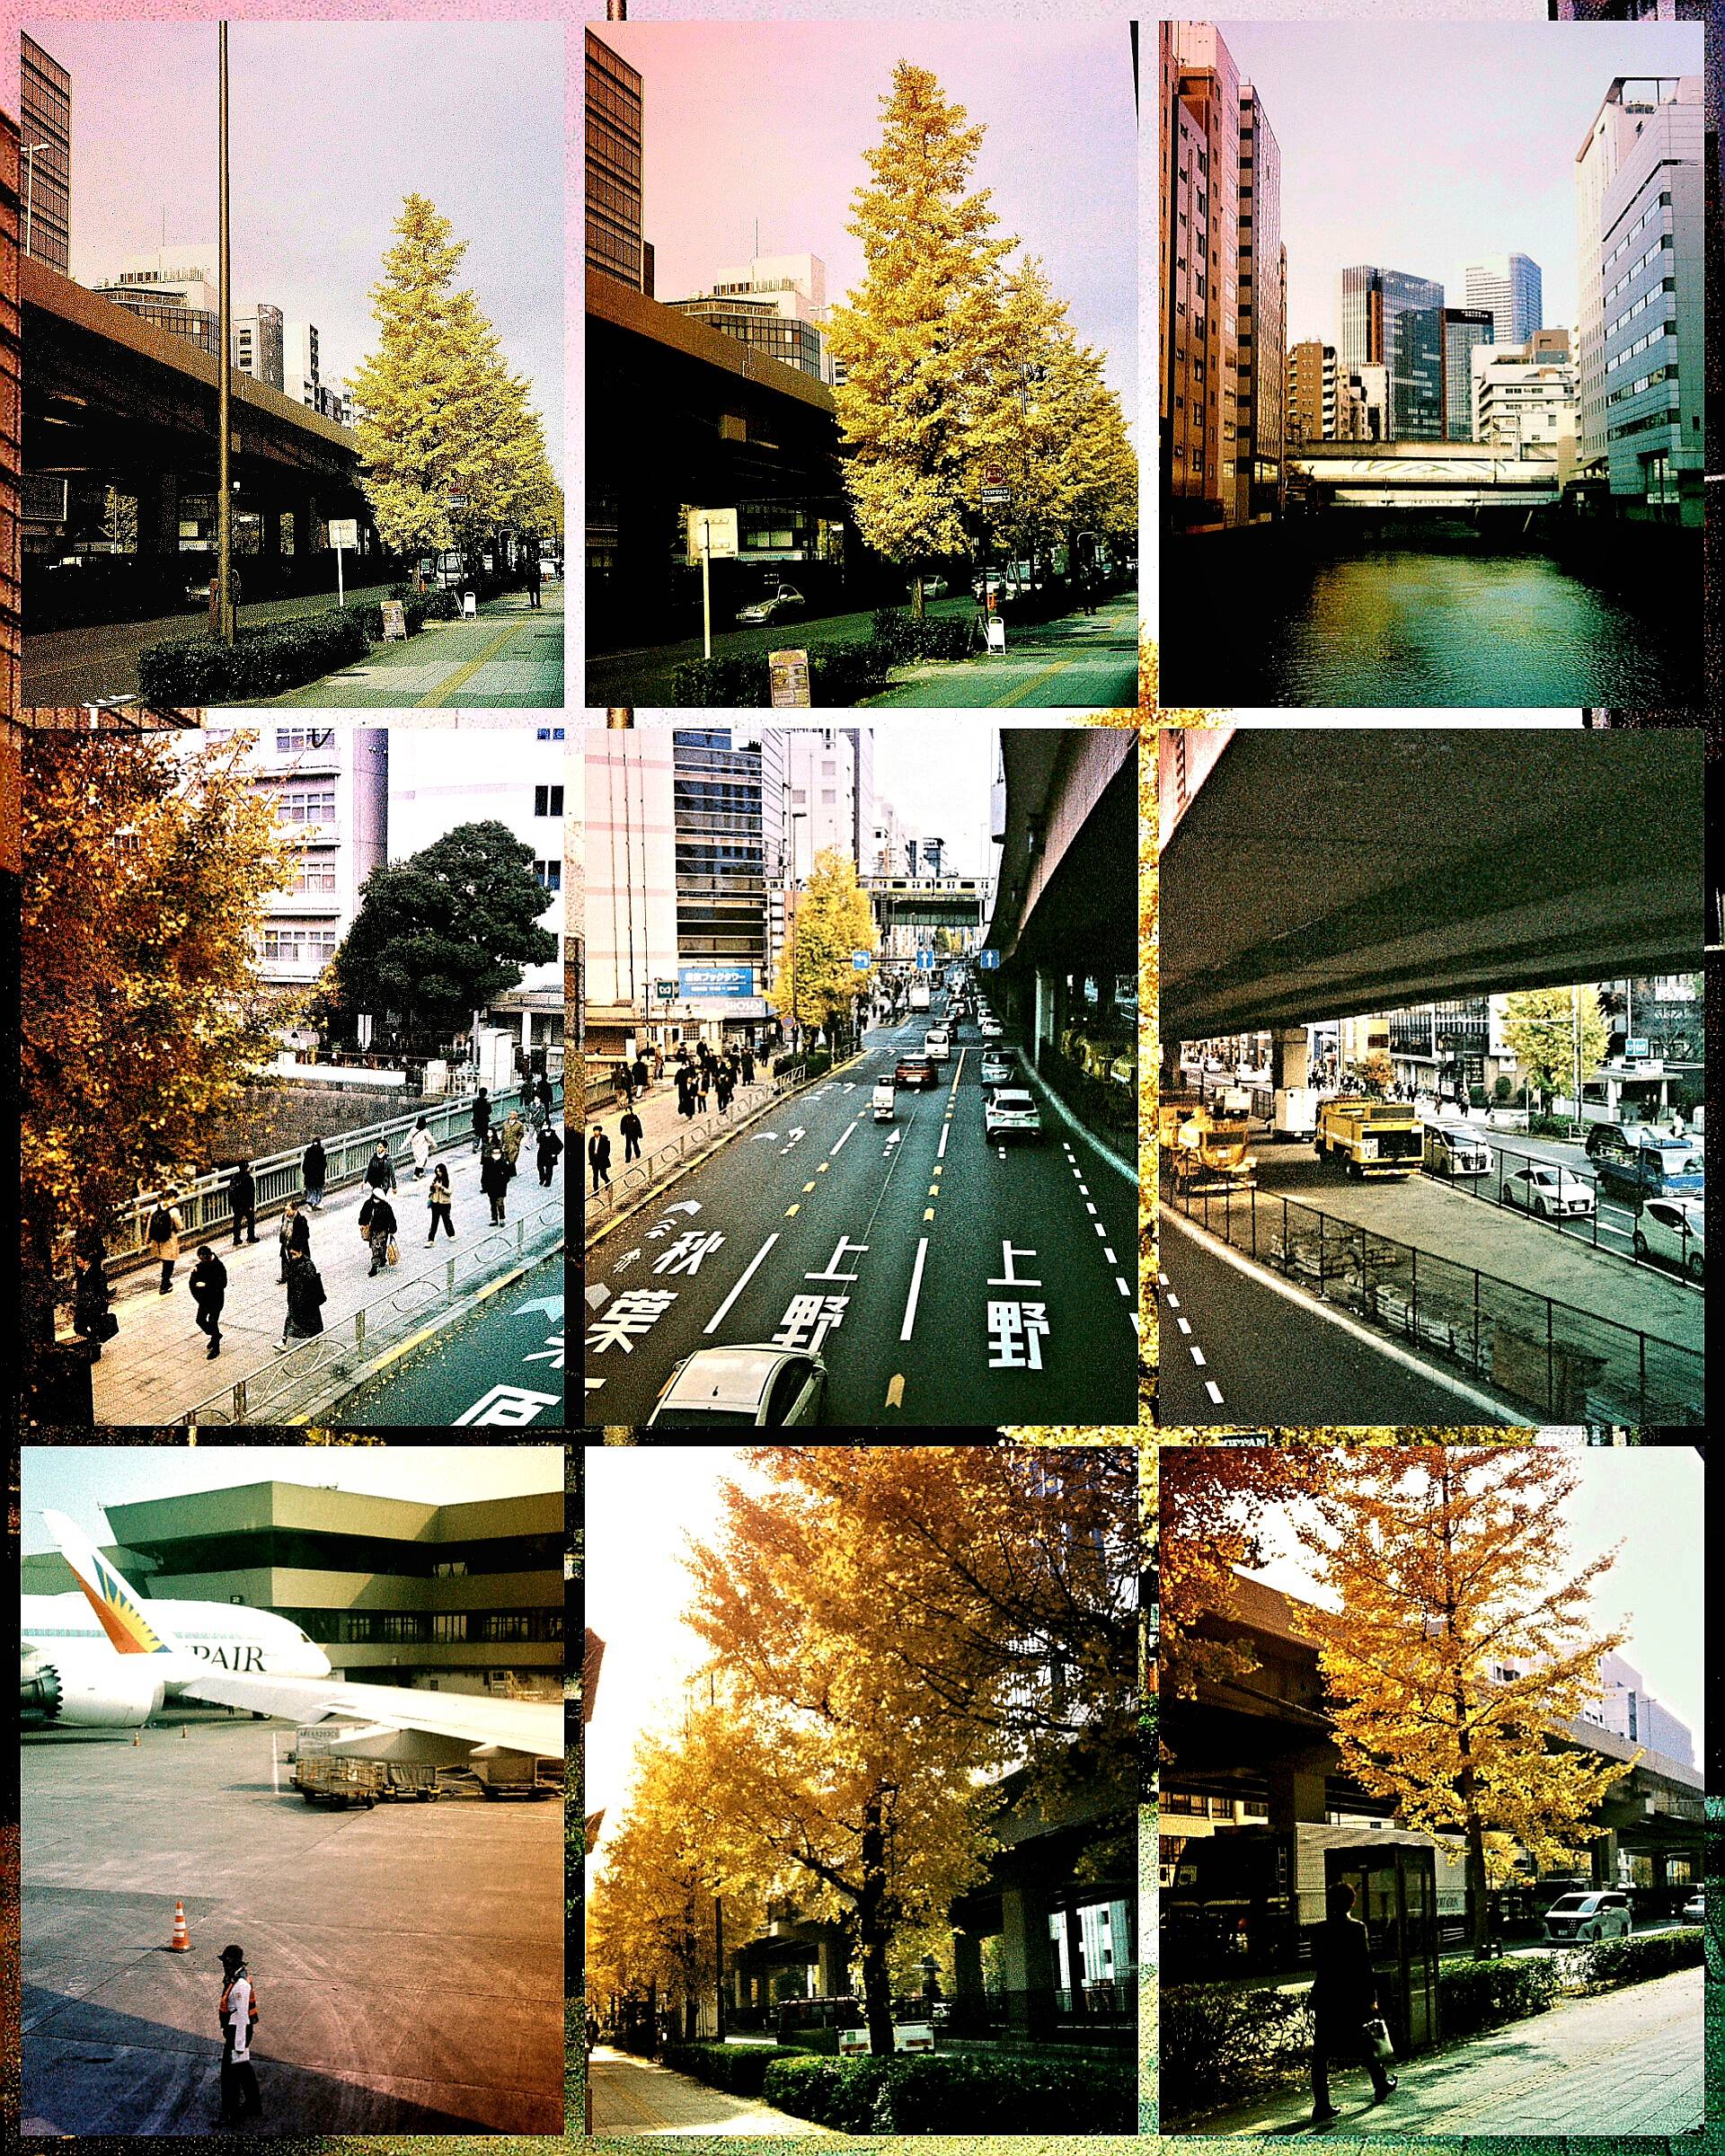
LOMOCHROME METROPOLIS ON CANON DEMI EE17 +/- RAINBOW LENS

TOKYO DOUBLE EXPOSURES OF GOLD FISH & SCENERY ON OLYMPUS PEN FT WITH ULTRAMAX
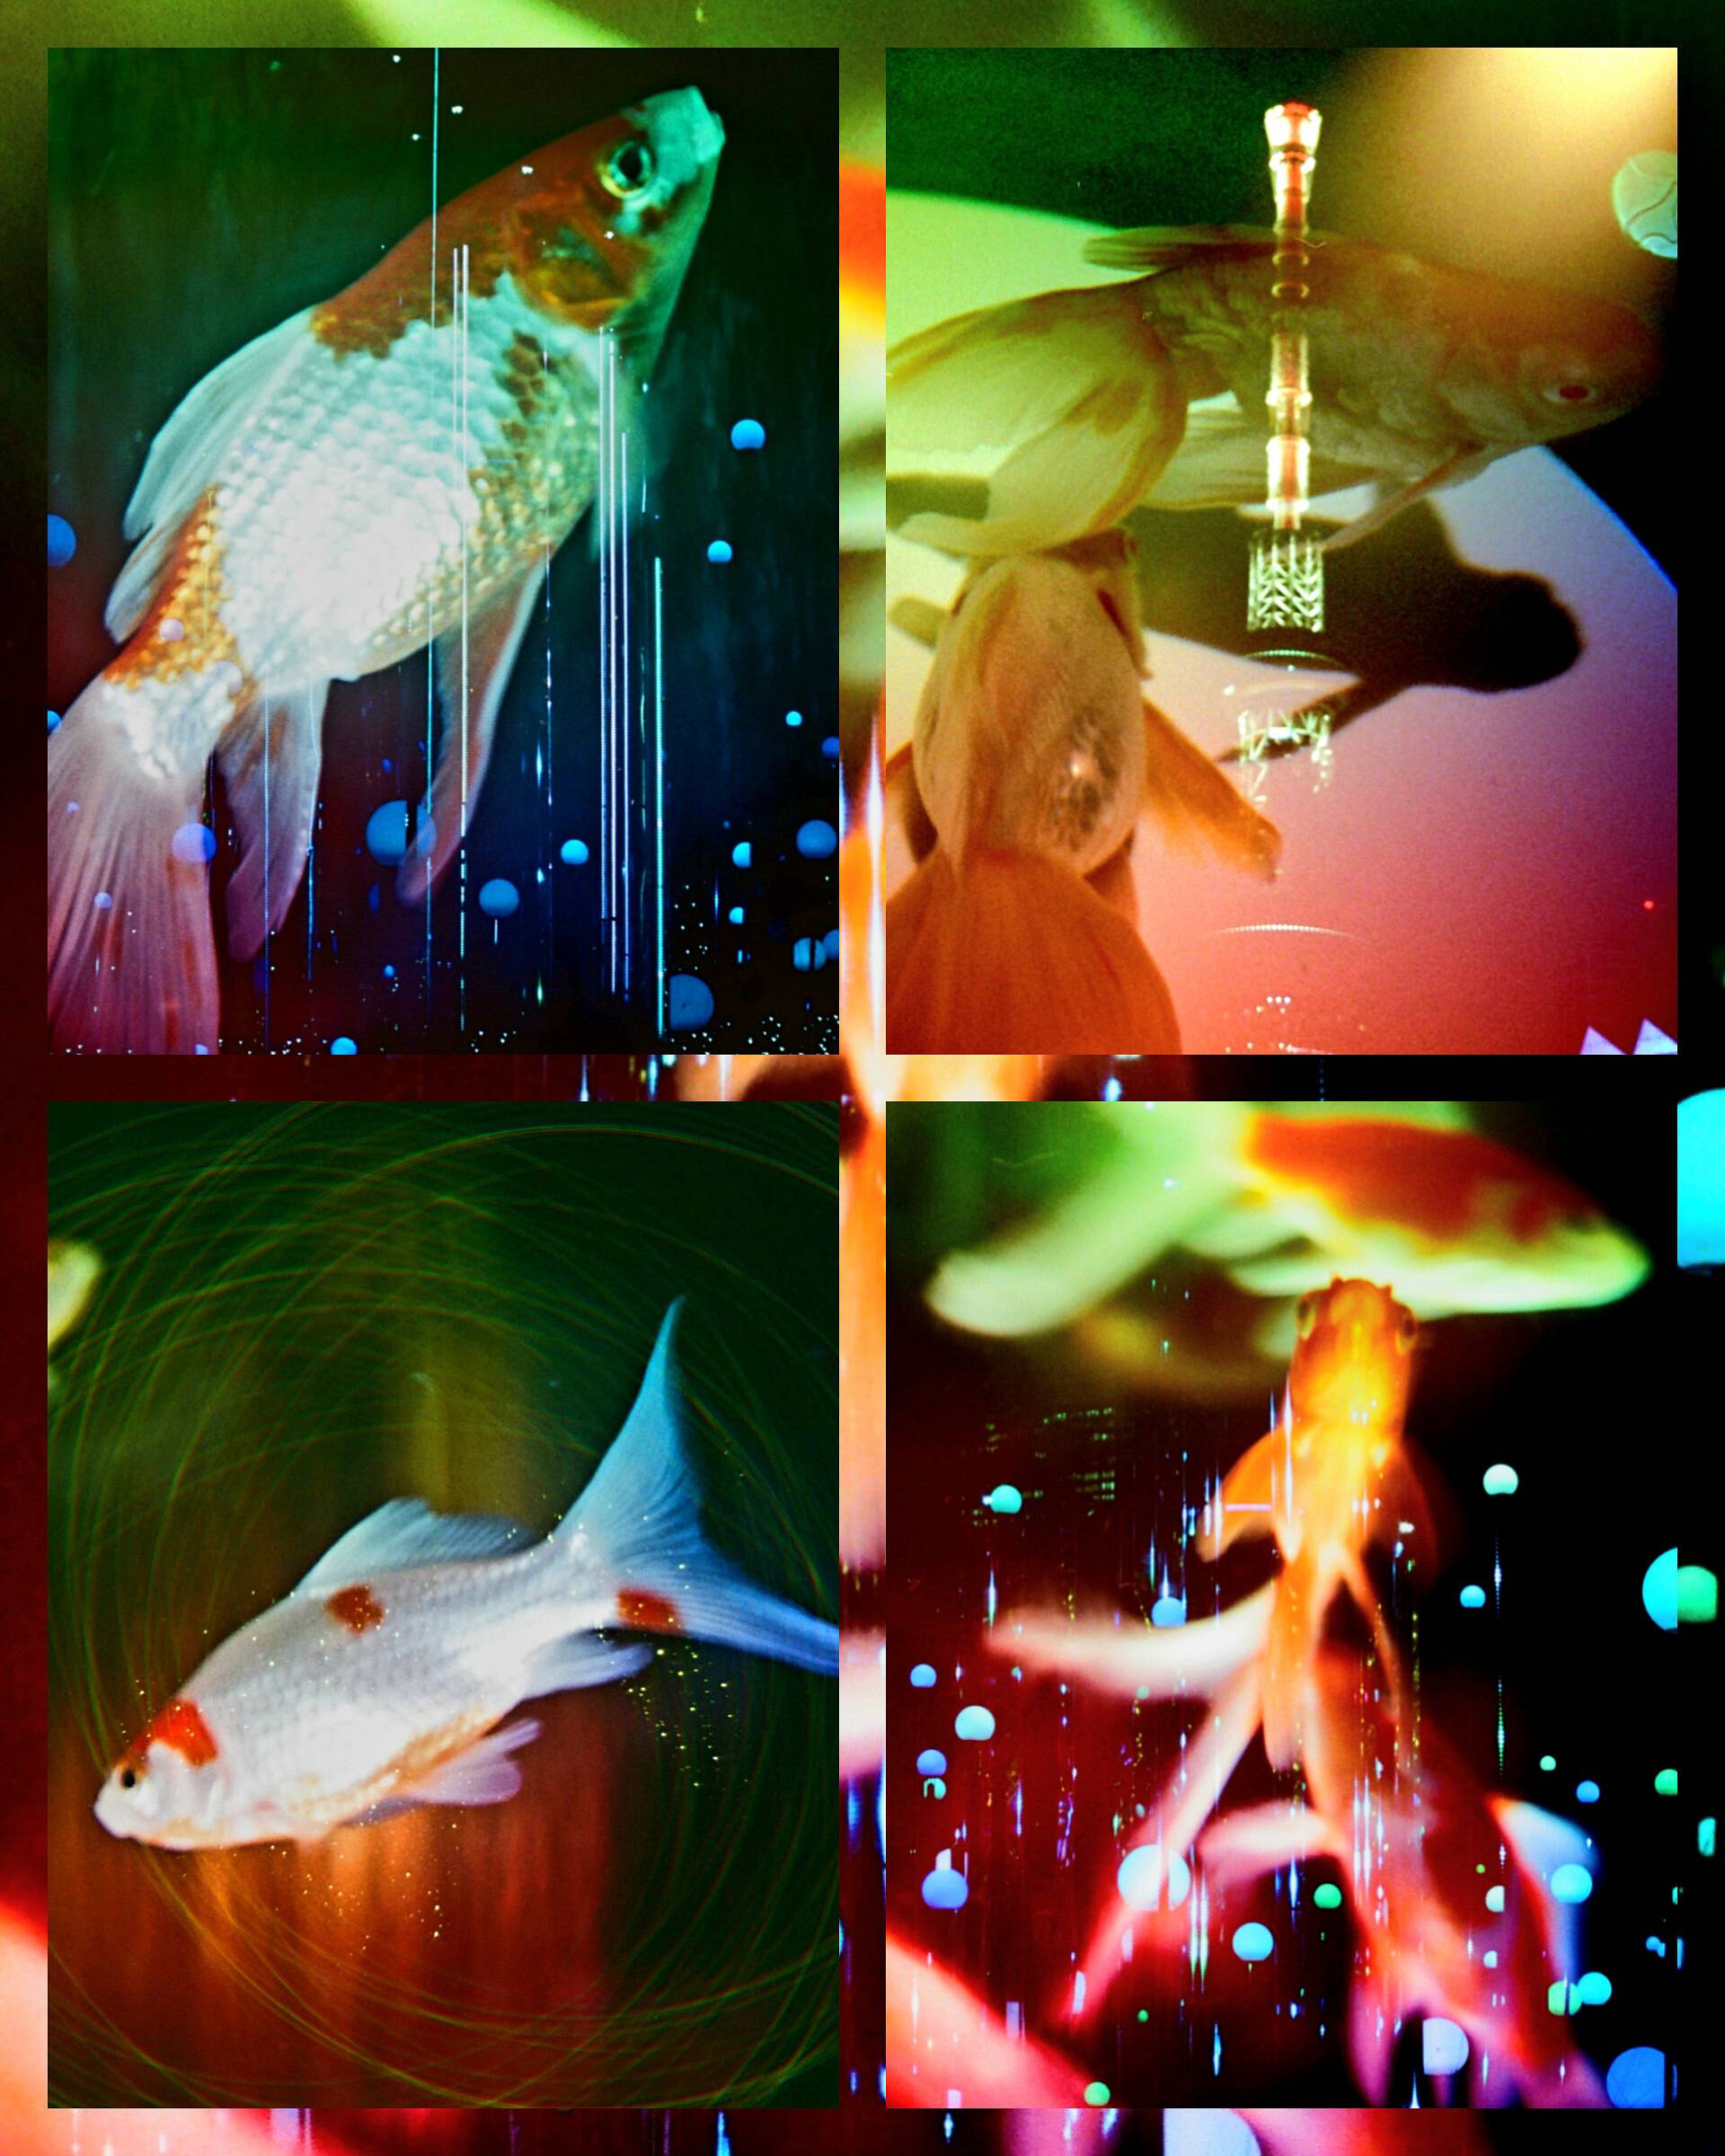
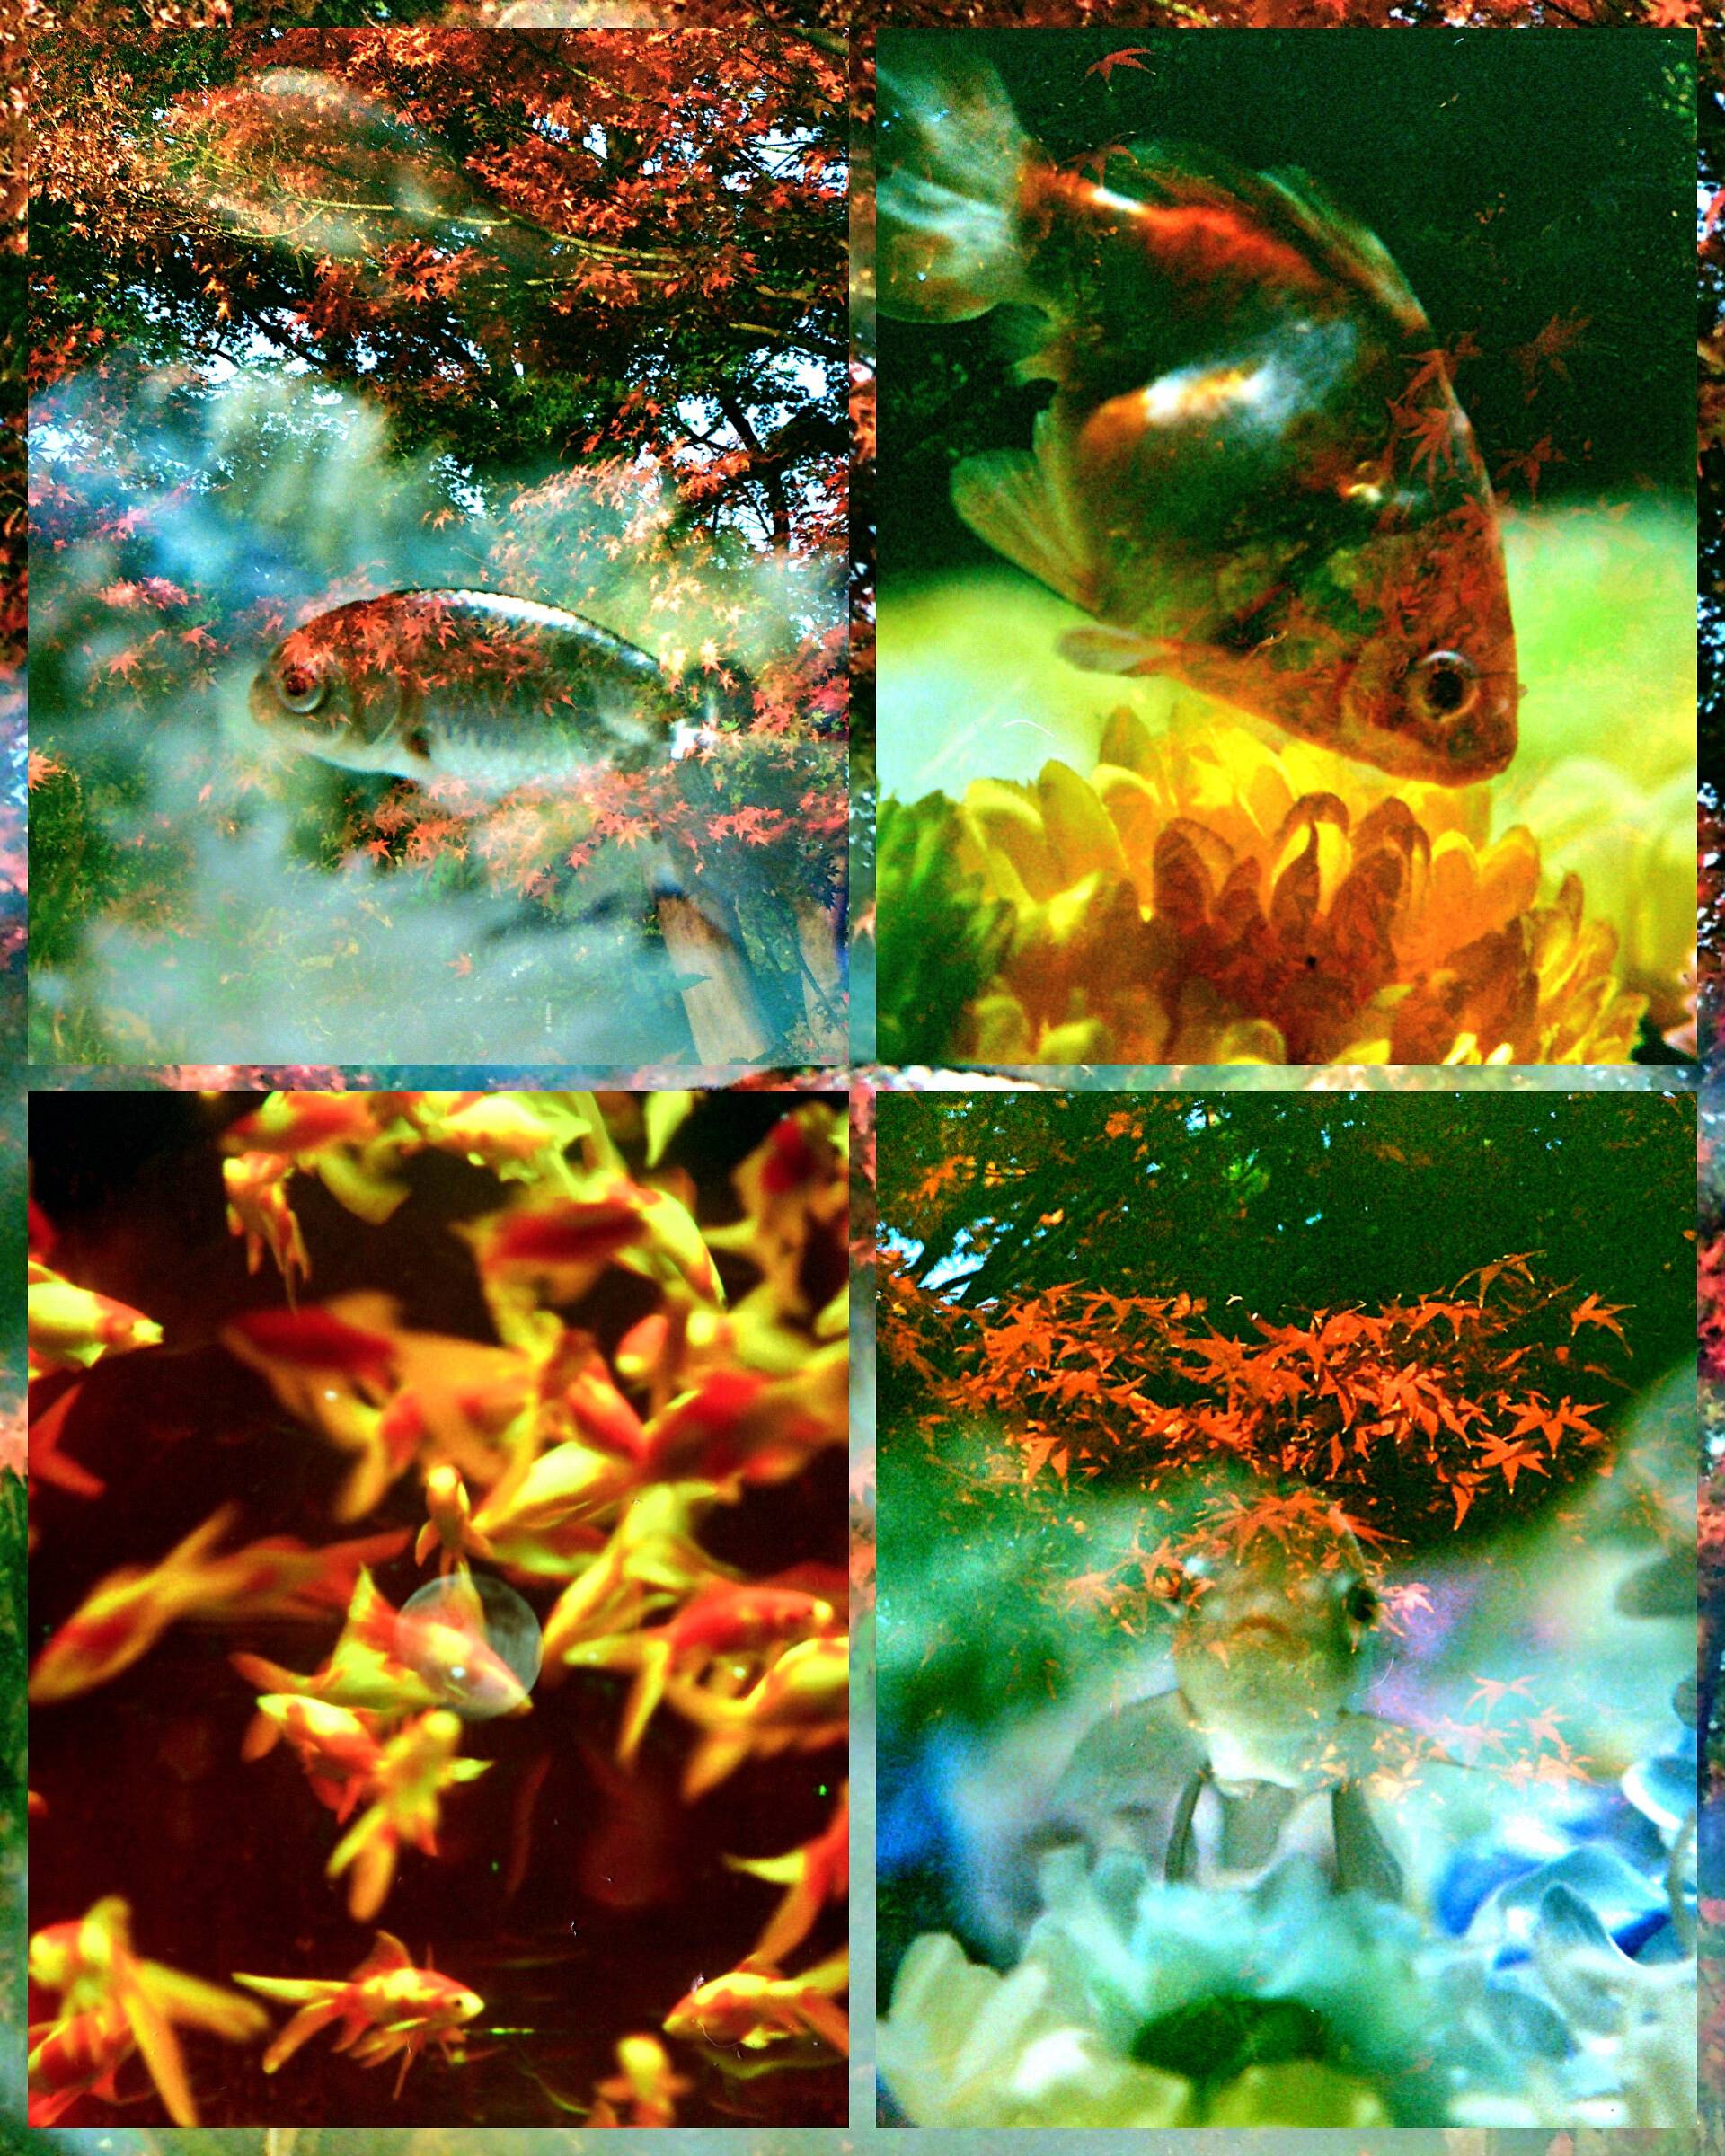
PHOTO FEATURED:
ON INSTAGRAM:

ARTICLE ON LOMOGRAPHY MAGAZINE: In the Frame: Nature Up Close
OTHER FILM ROLLS I STARTED WITH ON THIS JOURNEY:
Mostly are Low-Resolution scans, 1MB from Pallete Plaza.
AUTUMN TOKYO RAINBOW LENS ON EXPIRED KODAK ULTRAMAX ON CLOUDY DAY + INDOORS


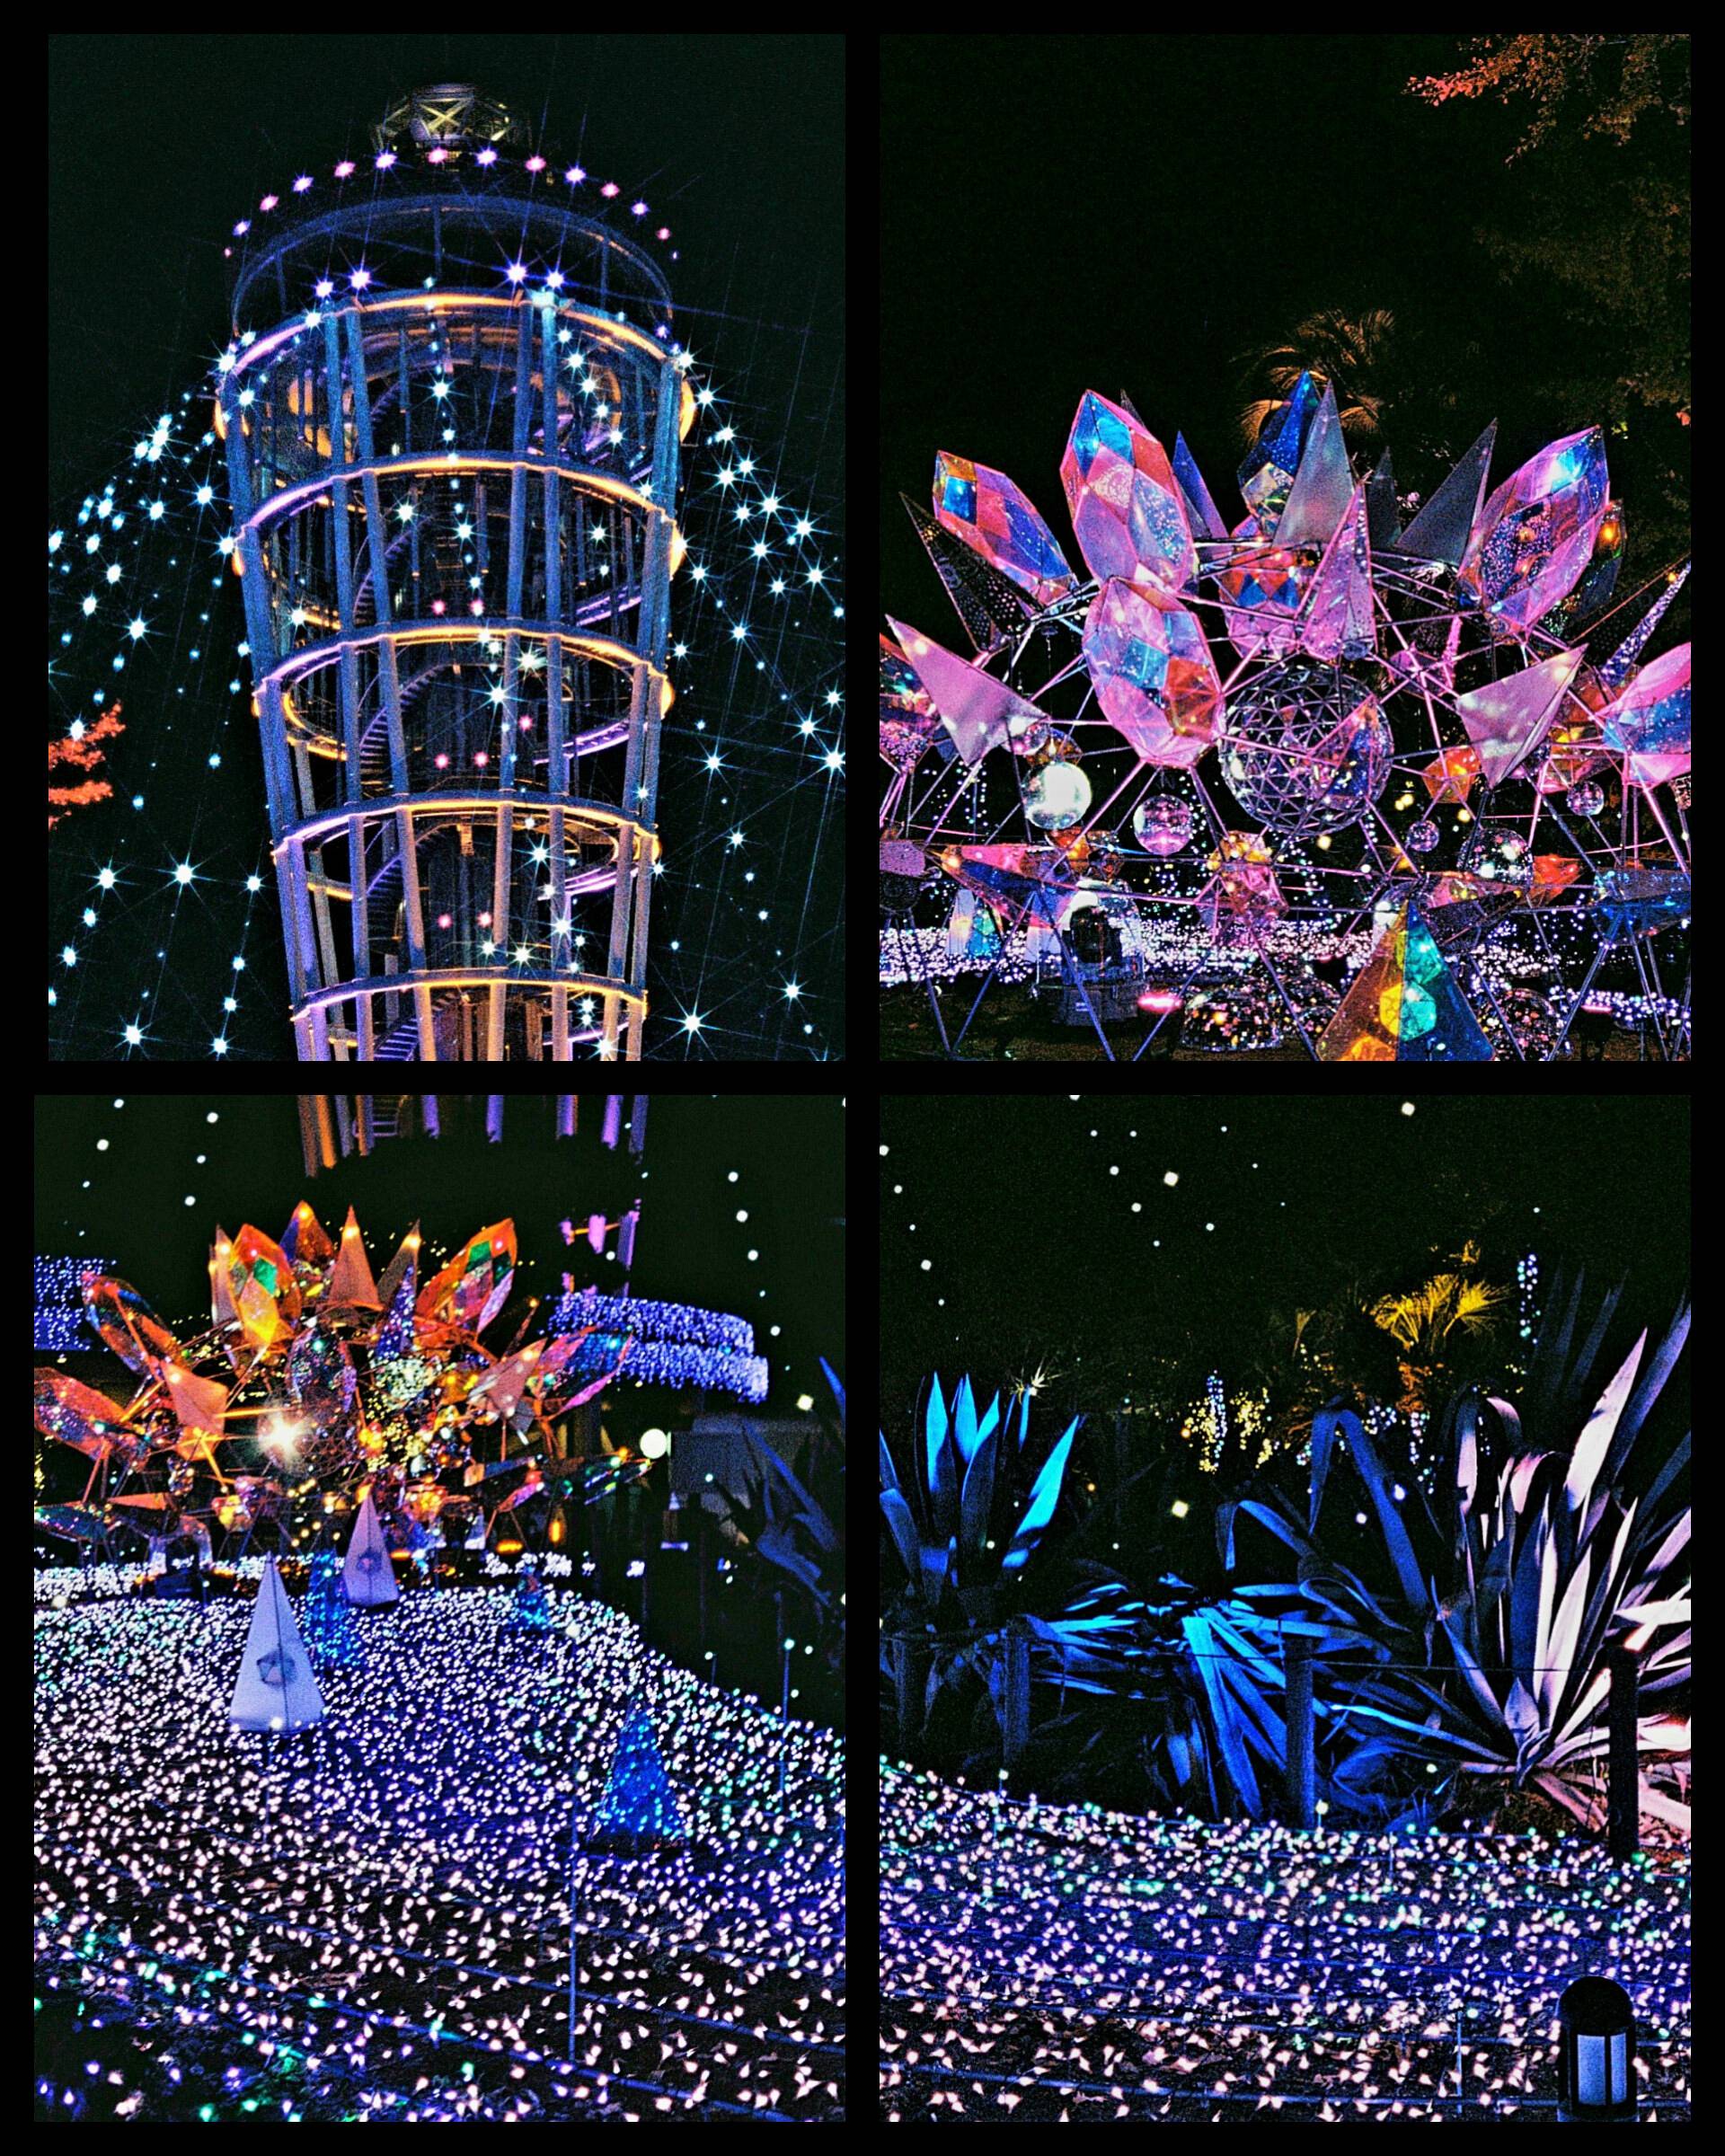
AUTUMN TOKYO NIGHT ILLUMINATIONS WITH REFLX 800T ON OLYMPUS PEN EED WITH SWIRL/HALO AND STAR FILTER


3. I also wanted urban and aerial shots of Tokyo so I went to Sky Tree while waiting for my rolls to be developed and scanned which took 3 to 4 hours. Walking from Senso-ji to Sumida River to Tokyo Sky Tree then heading back to the shop to pick-up my rolls.
TOKYO CITY & KAMAKURA COAST ON RAINBOW LENS OGV ON OLYMPUS PEN EED + KODAK GOLD

VIEW FROM TOKYO SKYTREE VS VIEW FROM SHICHIRIGAHAMA BEACH +/- RAINBOW LENS OGV ON OLYMPUS PEN FT WITH KODAK GOLD

I often panned the half-frame shots to get a panoramas (diptychs, triptychs, polyptychs).
4. "Kamakura: Day tour or overnight or more?" After reading several articles about Kamakura, I decided to catch the sunrise and sunset for Kamakura and also to try catch the sight of Mt. Fuji. It is very tricky since the visibility of Mt Fuji sometimes even depends on a per hour (or less) basis so I decided to stay in Kamakura 2 nights (3 days) with a location near the beach so i have better chances of seeing it.
So for the duration of my stay I monitor the hourly weather forecast on my phone and then use this live webcam to monitor the actual visibility before heading out.
"SHONAN MONORAIL" (Mount Fuji view Live Camera)
Before checking-in at Kamakura I stopped by Camera Suzuki at Yokohama to try their services. They were very strict because of the amount of customers but they do their job so well, they use Frontier (Fuji). The scanned files are transferred on a USB Flash Drive. Their standard resolution was already good compared to what I got from the previous film development shop.
I arrived late afternoon and checked-in to drop my stuff and rushed for the sunset at Shichirigahama Beach to take these panoramic spliced photos.
RAINBOW LENS OGV ON OLYMPUS PEN FT + KODAK GOLD


+/- RAINBOW LENS ON OLYMPUS PEN EED + KODAK GOLD

I learned how to use the multipurpose Fuji printer-machine that is available on most 7-11 stores. It costs 60 yen to print a 4R size photo (postcard). Everything is intuitive and even the mobile phone app was designed properly and integrated easily with the printer via QR. I started printing some of the photos taken on film.
JUSKOLIY JAPAN '25 AUTUMN JOURNEY HIGHLIGHTS ON INSTAGRAM
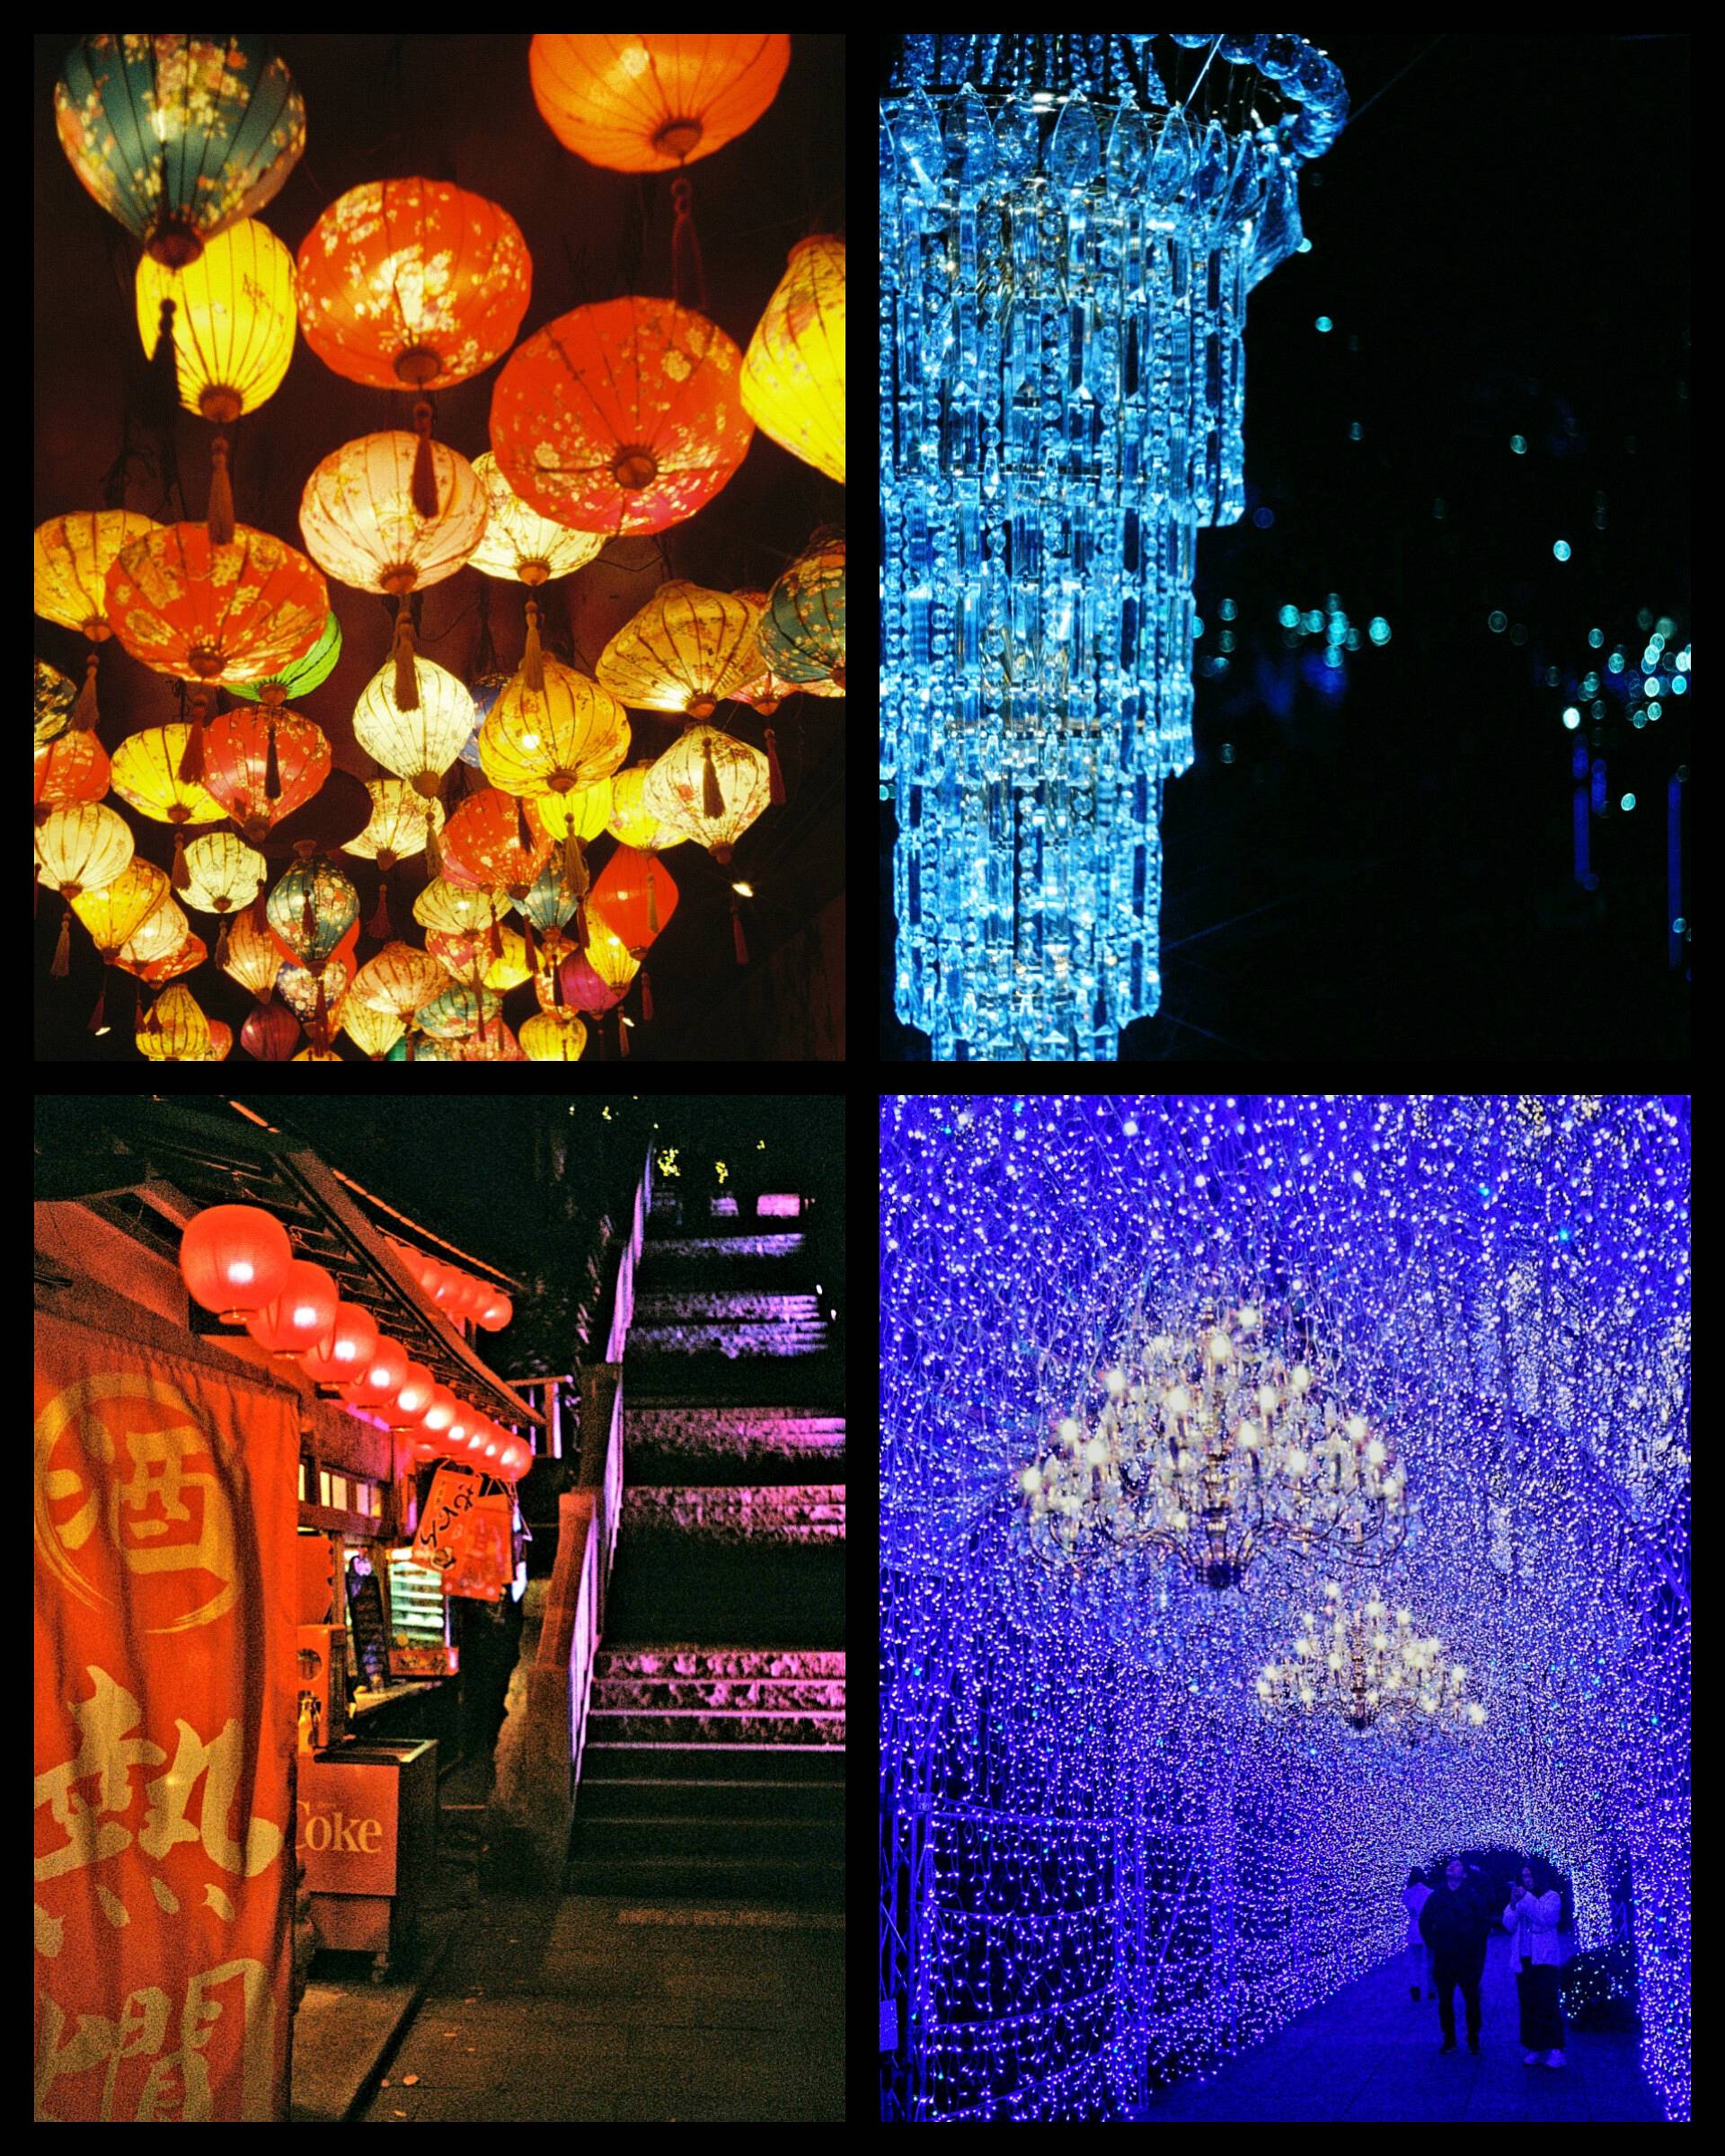
5. The whole afternoon I saw posters of Enoshima Illumination for 2025 titled: "Shonan No Hoseki" Or "Jewels of Shonan" was intrigued and truly I was stunned when I arrived clueless. I later learned that it was one of the top three recognized and most awaited winter illuminations in Japan.
MULTI-EXPOSURES ON ENOSHIMA ILLUMINATION:JEWELS OF SHONAN ON OLYMPUS PEN FT & KODAK ULTRAMAX WITH SWIRL LENS


ENOSHIMA ISLAND AT NIGHT ON CANON DEMI EE17 + KODAK ULTRAMAX WITH STAR FILTER

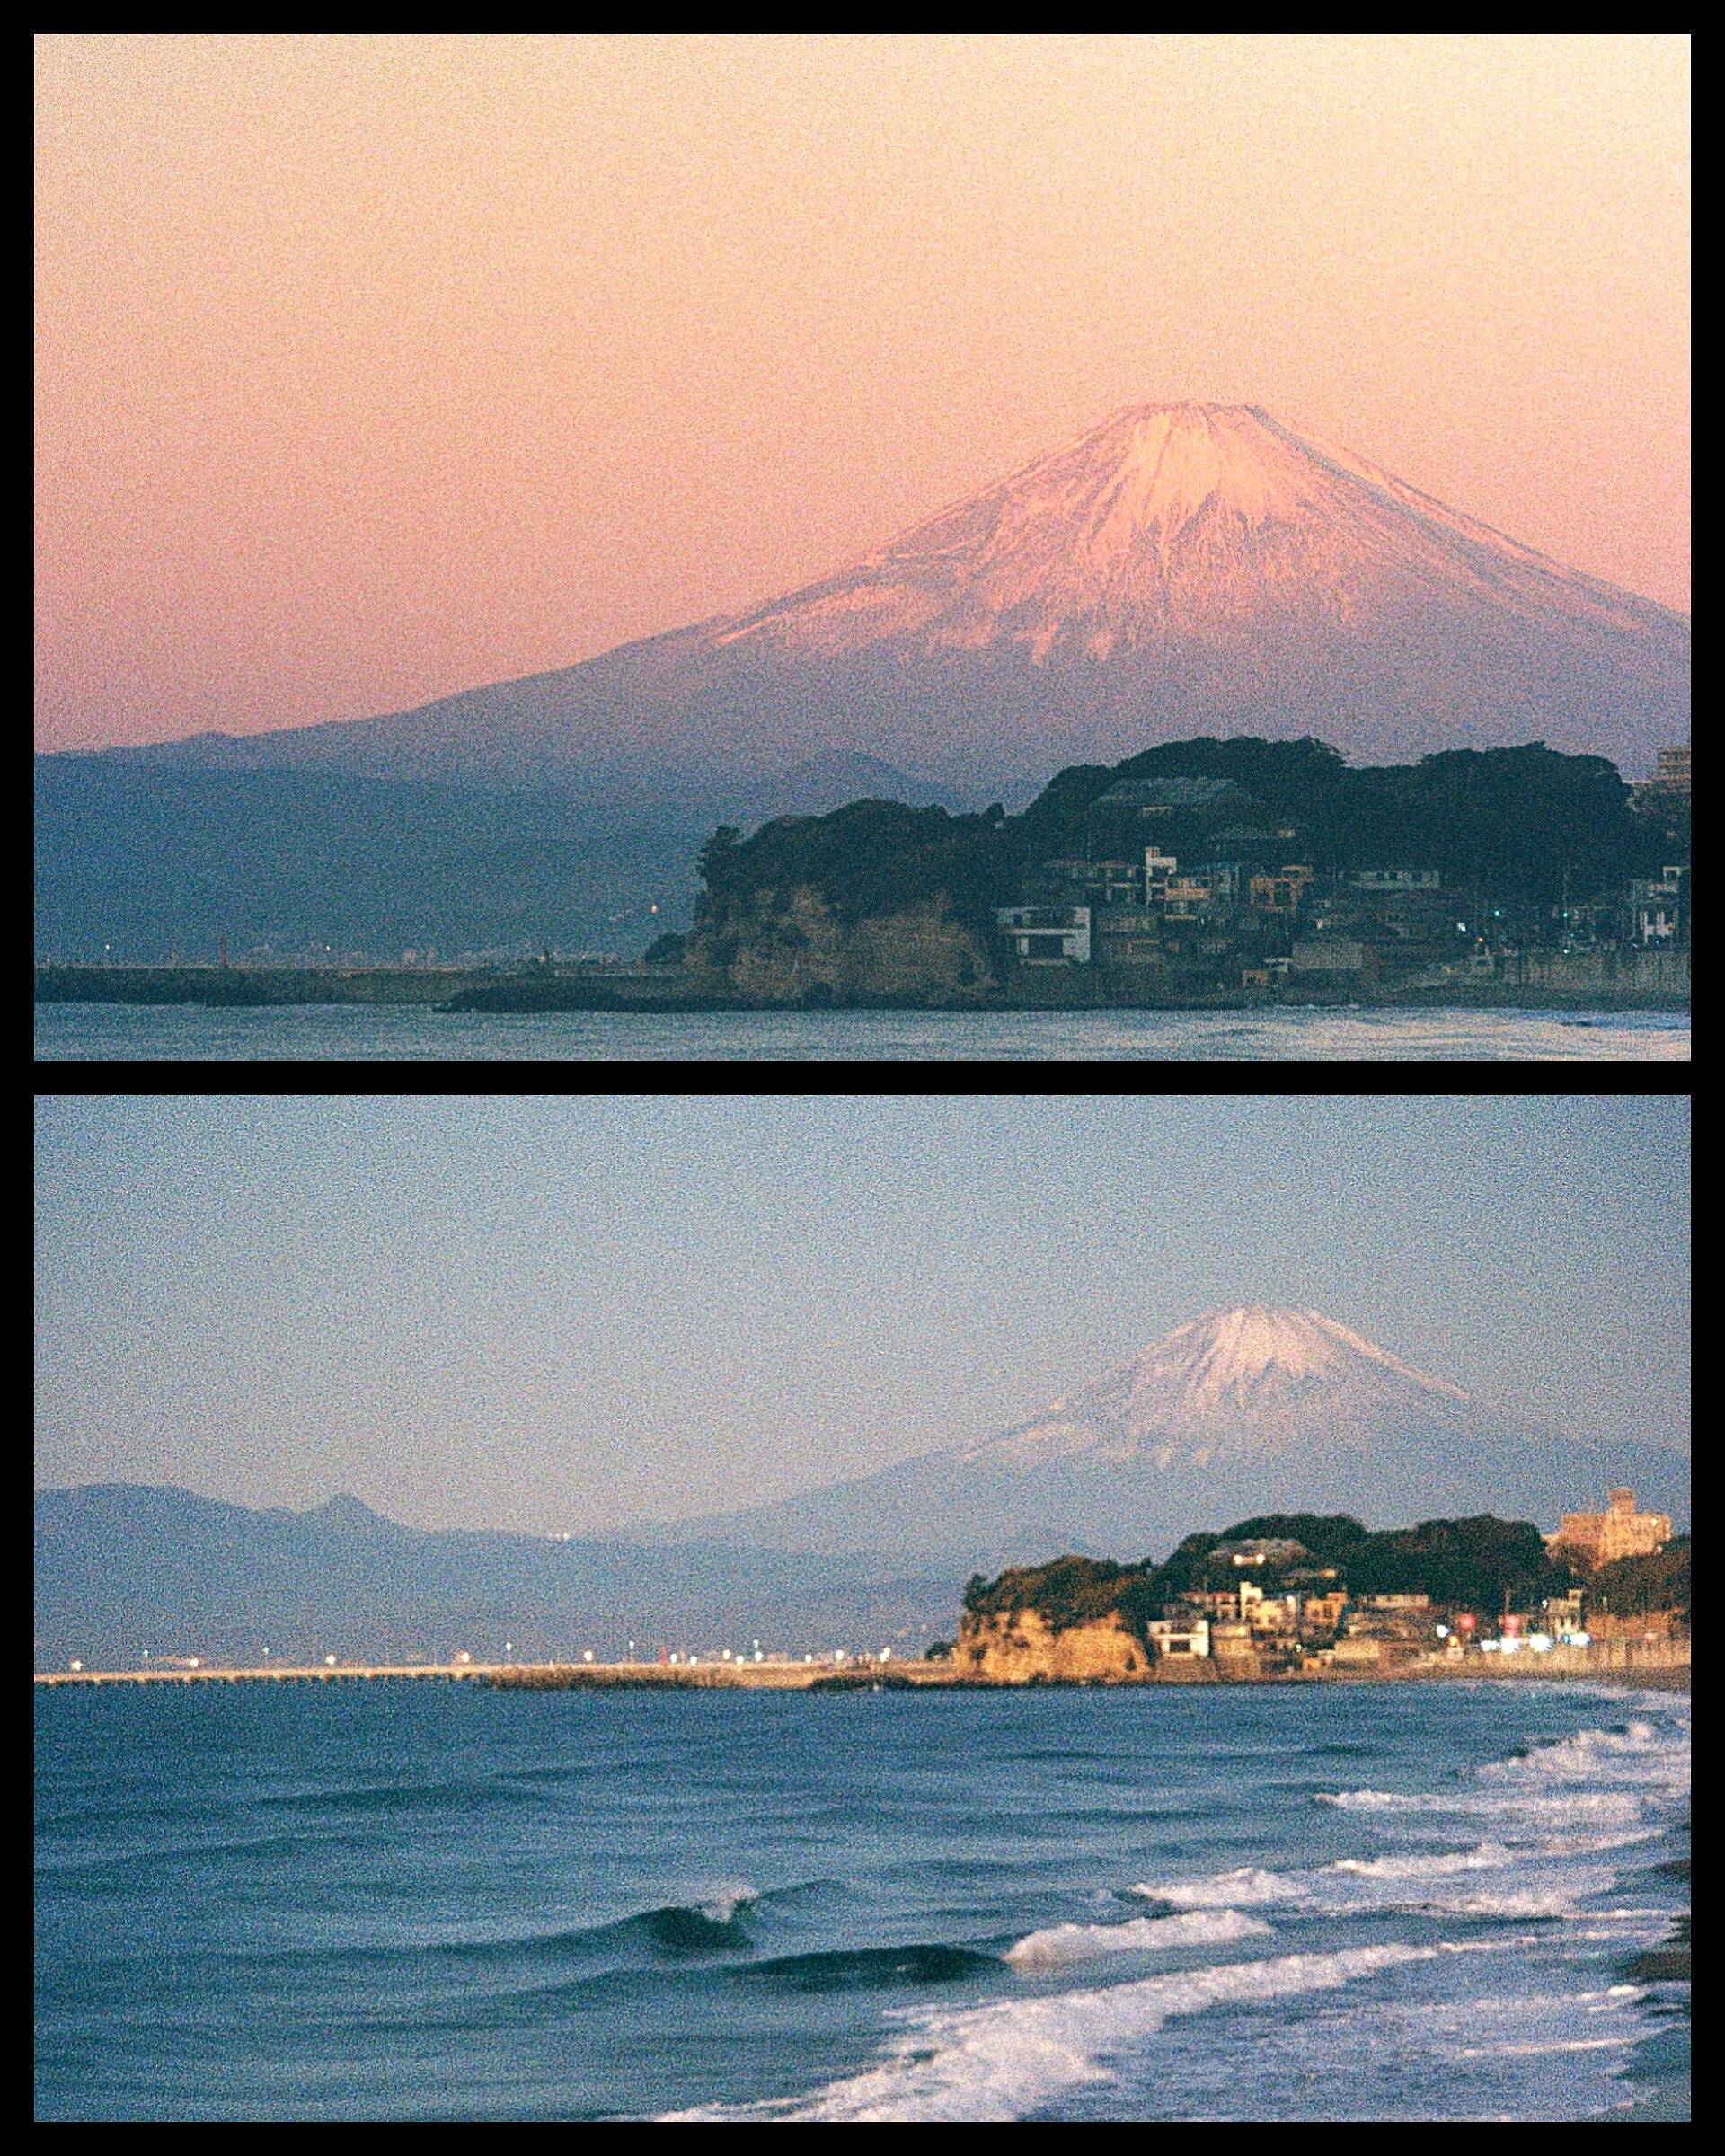
6. The next morning, in Kamakura, my target was to photograph Mt. Fuji from the same Shichirigahama Beach (from yesterday, sunset) so I had to wake up early. The sunrise was around 5AM that day and while monitoring the live cam of Shonan Monorail and the weather conditions on the phone, I rushed when it was still dark but with clear skies hoping to get a shot Mt. Fuji with the moon. I was already up at 4:30AM in the cold weather (single digit) and waited for the 1st train (short ride) since I don't want to walk in the cold breeze. There was a minute that the skies turned pink and was able to capture it on film and for the rest I use my rainbow lenses version 1 and 2.
SUNRISE AT SHICHIRIGAHAMA BEACH WITH MT FUJI VIEW ON OLYMPUS PEN FT AND KODAK ULTRAMAX +/- RAINBOW LENS

7. For this trip I brought 4 cameras: an Olympus Pen FT, an Olympus Pen EED, and 2 Canon Demi EE17. One of the Canon Demi's got broken on the second day I was in Kamakura so by the end of trip I only have 3 working Cameras.
SHOTS FROM THE BROKEN CANON DEMI EE17 WITH LOMOGRAPHY PURPLE PETILLANT

8. That window time in the morning where there are less clouds was already a blessing which also had me decided to a side trip and booked an inn at Atami for the Fireworks Display December 7. For the rest of the day it was cloudy in Kamakura and it was time to prove to myself that the RAINBOW LENS can give good output in cloudy skies (white overcast). I stopped by The Great Buddha and Hasedera Temple (Kannon) to finish up some rolls before I headed to Camera Suzuki to have the new rolls developed and scanned.
AUTUMN MORNING IN THE GREAT BUDDHA OF KAMAKURA

AUTUMN MORNING IN HASE-DERA KAMAKURA
9. On the 3rd day, from Kamakura before heading to Atami for the Fireworks Display, I stopped by Camera Suzuki Yokohama for the whole afternoon to pick up some rolls (and scans) and waited for new ones to be processed. I headed to Atami when it was already getting dark but still had ample time before the Fireworks Display.