
[JuskoLiy] 🌈 Liyan Aprieto's Rainbow Lens Filter 🌈

🌈JuskoLiy - Liyan Aprieto's Rainbow Lens Filter - DIY
INGREDIENTS:
Rainbow Lens Filter Stack
[Y] Yellow Gradient +
[B] Blue Gradient +
[R] Red Gradient +
You may also use the other color Gradient (Grad/GD) lens filter available in the market:
[O]orange, [G]green, [V]violet, [P]pink, [B]brown.
I also use other combinations, samples are labeled below.
The common size you can find online is 52mm (lens thread) so you might need step rings to adapt them to the lenses of your cameras.

USING RAINBOW LENS FILTER ON COLORED FILM:
1. To Produce the RAINBOW LENS FILTER you have to "blend" or rotate the individual color gradient filters Y-B-R when stacked together. Set into position each gradient color lenses in a way that will make the secondary colors O-G-V appear and then secure them in place with a tape.
2. The sequence of gradient color filters will result to different blends and color effects:
Y-B-R & R-Y-B are the safest:
[YBR] Yellow Front, Blue Middle, Red Back
[RYB] Red Front, Yellow Middle, Blue Back
(Front is towards the subject and Back is towards the camera)
3. The Rainbow Effect depends on your film stock and camera type: rangefinder, uncoupled metering and other camera features so you have to test it first.
4. I usually cut/ lessen 1 to 2.5 Stops: either adjust the speed/ F-stop or adjusting the ISO, which is more convenient.
--4.1 TTL Metering/ some PNS cameras can be AS-IS/ no adjustments or at least cut 1 stop if possible.
--4.2 Uncoupled Meter/ dedicated light sensor cameras needs to be cut 2 to 3 stops (max).
5. Regardless of the film stock you are using, treat this as a MASKING TOOL. Since there are light and dark parts of the rainbow lens filter, it is best to position the color depending on your compositions especially when you have a camera with an uncoupled view and/or viewfinder
--5.1 If Blue Skies, make it more blue by positioning the Blue portion of the Rainbow Lens on the sky
--5.2 If Cloudy (white overcast), make the clouds colorful to your liking
--5.3 If Sunny (golden), position the blue to cut down the yellow-ish tones
--5.4 Make Shadow details appear, position the shadows between red and yellow
--5.5 Use the Yellow and green portions as a "spotlight" on things that you want to brighten up, and so on.
6. It is TRICKY TO USE IN LOW-LIGHT, indoors and certain types of artificial lighting like "Incandescent lighting". Rainbow Lens Filter is BEST USED OUTDOORS, IN THE SUN.
7. Stacking the Lens gives the resulting image on film more depth compared to of a single layer of rainbow lens filter. Since the light travels and gets through every lens in sequence before it reaches the film, the intensity of lighting on certain parts of the image will sometimes become grainy. This can also cause chromatic aberrations on the resulting film photos.
8. Zoom Lens (Telephoto Lens) and Film Format (35mm Full Frame, Half Frame, 120, Square, Panoramic, etc) will have different crop factors and image scope where you might not see the full "Rainbow Effect" (all colors in the lens). This will also affect the metering for the exposure of the shots and produce different effects on the resulting photos.
TIPS:
1. I find Kodak Ultramax 400 and Fujifilm 400 to give the best results (vivid High Contrast), next is Fujifilm 200 and Kodak Gold 200. Since it cuts "stops" for uncoupled meters, lowering the ISOs of this film stocks to 100-200 and 50-80 accordingly (for uncoupled meters) when the rainbow lens filter is on.
2. Do not forget to adjust the ISO back on you camera settings when you take the Rainbow Lens filter OFF/OUT especially when it's getting dark (night/ indoors).
3. TTL or Through The Lens light metering film cameras are more convenient and ideal to use since it already computes for the light that actually goes thru with the Rainbow Lens Filter and the coatings of your lenses if any.
4: You can replace and play with other gradient colors lens filters to result to other prismatic color combinations. You can also do 2 lenses for a half and half color combination or add more and even add other effect lens filters on top of it. You need to check the number of stops (of light) it cuts across the resulting lens stack. I do this by using a small light meter and take notes.
5. The colors (from the Rainbow Lens Filter) POP from film negatives scanned with Frontier or DSLR.
JUSKOLIY LOMO ALBUMS USING RAINBOW LENS FILTER:
Rainbow Lens [YBR] Kodak Ultramax 400 + Olympus Pen FT (TTL Meter)

[Rainbow Lens YBR] Fujifilm 400 + Fujifilm 400
[Rainbow Lens YBR] Fujifilm 200 + Olympus Pen EED (Uncoupled Meter)

[Rainbow Lens OGV] Fujifilm 200 + Olympus Pen FT

[Rainbow Lens BYR] Kodak Ultramax 400 + Canon Demi EE17 (Uncoupled Meter)

[Rainbow Lens RYB] Lomography Classicolor 200 + Olympus Pen EED
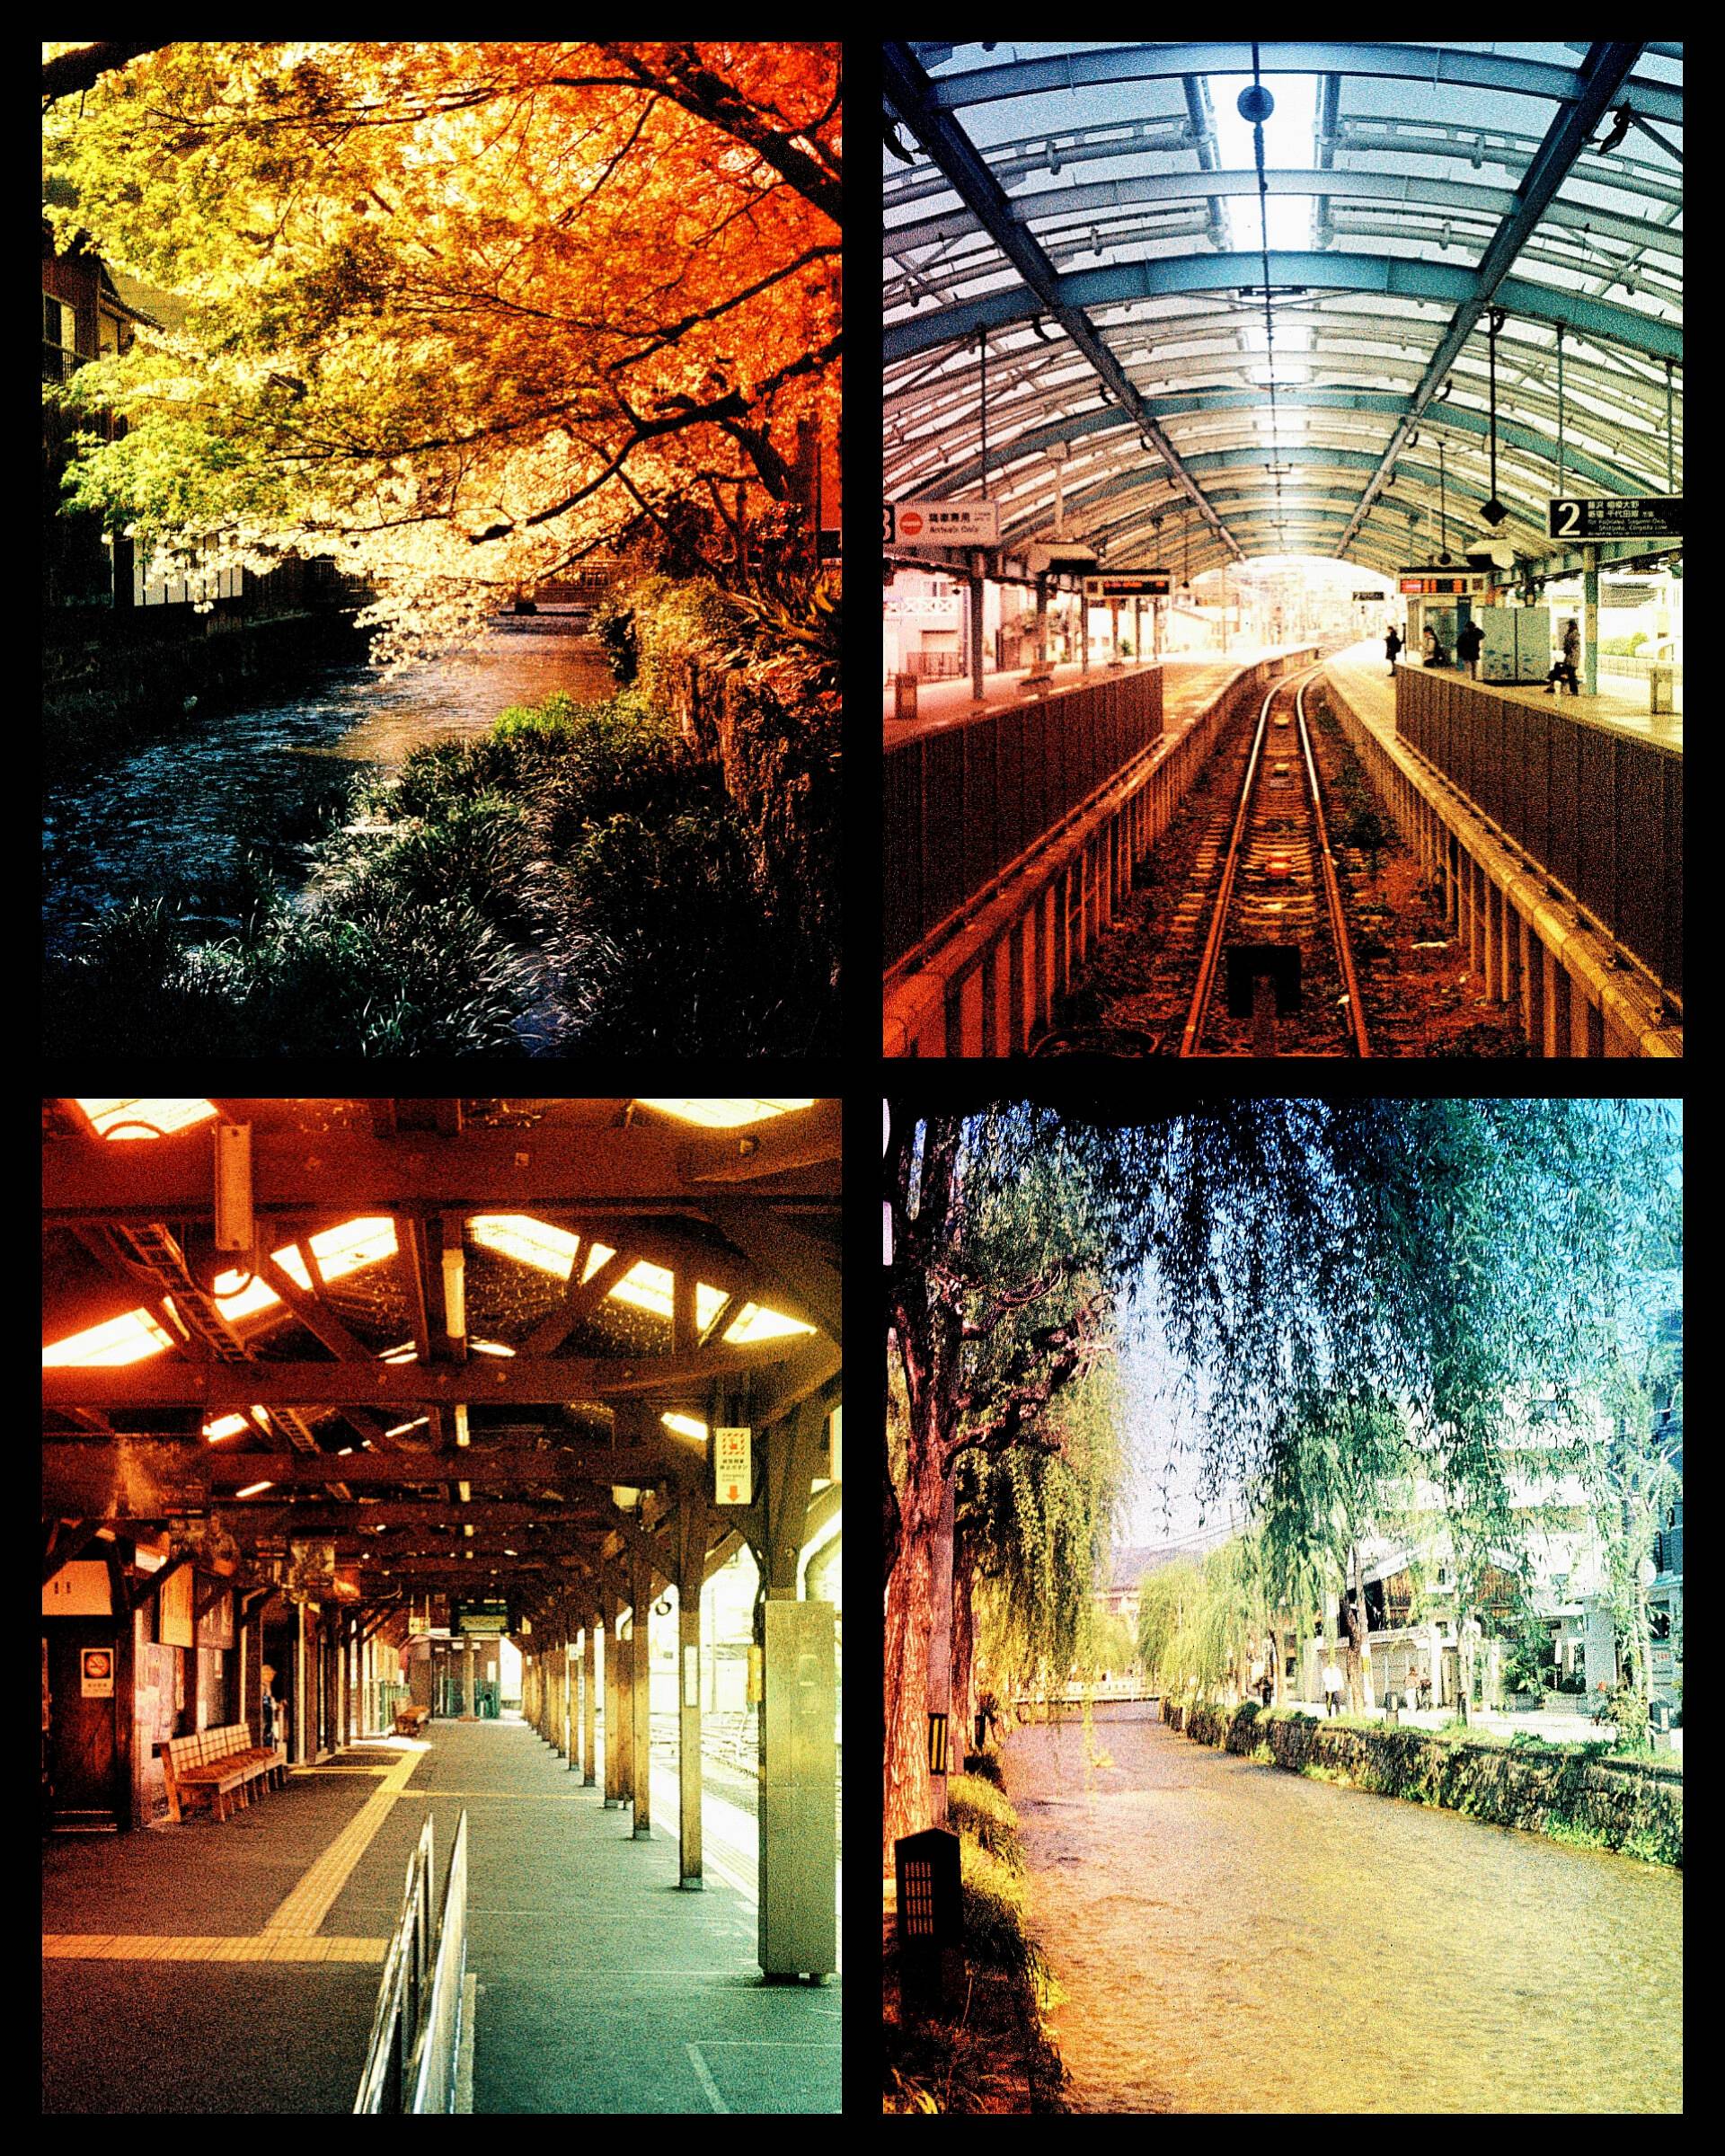
[Rainbow Lens ++] Rainbow Lens + 16-Prism and Swirl Lens Experiments Stack
